
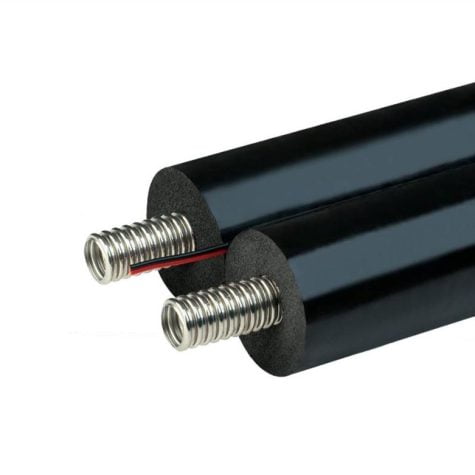
UniMaxx™-Plus Small Commercial Solar Pump Station with PSI Guage

$475.14
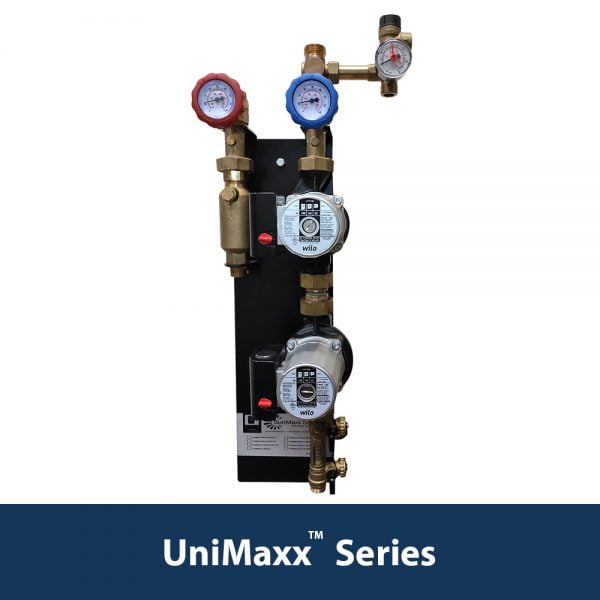
Introducing the UniMaxx™ solar pump station, designed to simplify and streamline solar hot water system installations. With integrated components such as the circulator pump, main piping connections, controller, and T&P gauges, it serves as the central hub of your system. Suitable for DIY and professional installations, it requires basic plumbing and electrical skills for quick and proper setup.
- Description
- Additional information
Description
Small Commercial Solar Pump Stations
Product Description
Our UniMaxx™ solar pump station increases solar hot water system installation simplicity and efficiency while decreasing install time and the possibility for errors and need for future troubleshooting. By combining the circulator pump, main piping connections, controller and T&P gauges, the UniMaxx™ solar pump station becomes the heart and brain of your solar hot water system.
This model is perfect for DIY as well as professional solar hot water installations. It requires basic plumbing and electrical skills to be installed properly and quickly.
Quick Sizing Tools - Save time and energy

Upgrade Your Product
Larger systems require a small change in the UniMaxx™ Solar Pump Station. In this situation, there is a possibility to add an additional pump to the system. That is usually called the booster pump. Thanks to that the head (the differential pressure) is the sum of both pumps which are working in series now. The UniMaxx™ can now pump the fluid at higher distances (the head is equal to the sum of both pumps).
Simple Scheme Of Booster Pump Skid


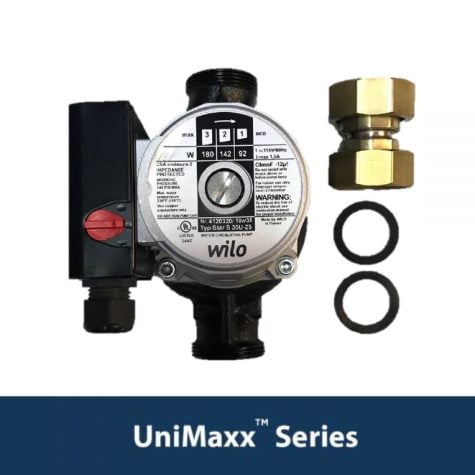
UniMaxx™ Solar Pump Station Components

Before you buy
The price only includes the UniMaxx™ solar pump station with the PSI gauge. Other fittings, adapters, connections and accessories have to be bought separately. Please check that before making the purchase.
What parts & accessories do I need?


Features & Benefits
- Complete, ready to install pump station
- Includes a valve for flow monitoring and adjustment
- Functional electric and hydraulic pressure tested
- Two pumps may be used when additional head pressure is needed
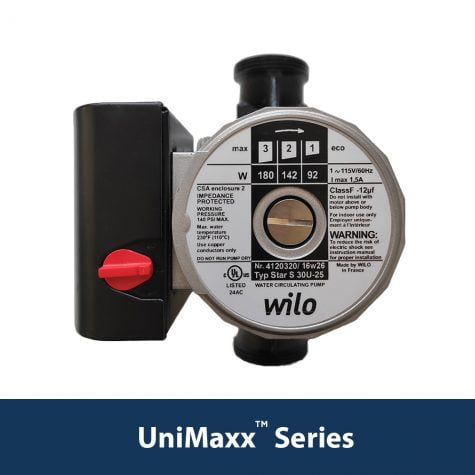
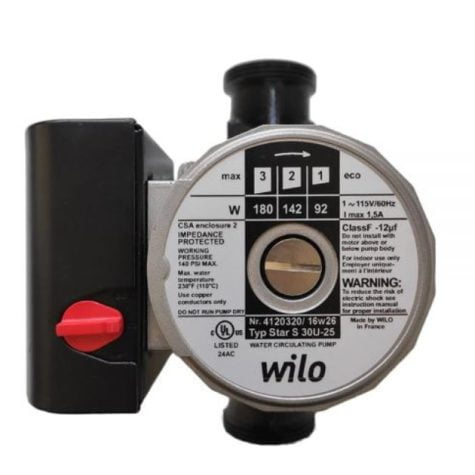
- UniMaxx Pump Skids are built with Wilo Star S30 U25 pumps
- ISES & ASES Certified
- Ideal for small commercial and large residential solar hot water and heating systems
- Larger, custom pump systems are available upon request
Technical Details
Specifications:
- Height (with insulation): 18.66 in
- Width (with insulation): 12.13 in
- Shipping Weight: 19 lbs
- Pump: WILO Star S30 U-25-180 (1/10 HP)
- Flow Meter: 1 – 10 gpm
- Piping / Components Material: Brass / Stainless Steel
- Temperature Gauges: 32-320 °F
- Permissible temperature range: 14 – 230 °F
- Pressure Gauge: 0-87 psi
- Max Current Consumption / Pump: 1.8 A
- Solar Fluid: SunMaxx inhibited propylene glycol & water mixture (No greater than 50% glycol solution)
Includes:
- Ball valve with temperature gauge in the return equipped with replaceable spindle
- Pressure relief valve
- Fill valve
- Pressure gauge (87 psi / 6 bar)
- Solar pump
- Ball valve in flow meter
- Drain valve
- Flow meter
- Ball valve with temperature gauge in the supply equipped with replaceable spindle
- Required Piping Hardware
- Height (with insulation): 18.66 in: This indicates the height of the product when it’s fully insulated.
- Width (with insulation): 12.13 in: This denotes the width of the product when it’s completely insulated.
- Shipping Weight: 19 lbs: This is the weight of the product when packaged for shipping.
- Pump: WILO Star S30 U-25-180 (1/10 HP): This specification indicates the pump model and its horsepower.
- Flow Meter: 1 – 10 gpm: This range represents the flow meter’s capacity to measure the flow rate of the solar fluid in gallons per minute.
- Piping / Components Material: Brass / Stainless Steel: These are the materials used for the piping and other components in the system.
- Temperature Gauges: 32-320 °F: This range indicates the operating range of the temperature gauges provided with the product.
- Permissible temperature range: 14 – 230 °F: This is the safe operating temperature range for the product.
- Pressure Gauge: 0-87 psi: This denotes the range of pressure that the product’s pressure gauge can measure.
- Max Current Consumption / Pump: 1.8 A: This refers to the maximum electrical current that the pump can draw.
- Solar Fluid: SunMaxx inhibited propylene glycol & water mixture (No greater than 50% glycol solution): This specifies the recommended solar fluid for the system.
The package also includes the following components:
- Ball valve with temperature gauge in the return equipped with replaceable spindle: This allows you to control the flow rate and monitor the temperature of the returning fluid.
- Pressure relief valve: This safety feature releases excess pressure from the system to prevent damage or failure.
- Fill valve: This is used to add fluid into the system.
- Pressure gauge (87 psi / 6 bar): This device measures the pressure in the system.
- Solar pump: This circulates the solar fluid through the system.
- Ball valve in flow meter: This helps control the flow rate in the system.
- Drain valve: This allows you to drain the fluid from the system.
- Flow meter: This device measures the rate of fluid flow in the system.
- Ball valve with temperature gauge in the supply equipped with replaceable spindle: This allows you to control the flow rate and monitor the temperature of the supply fluid.
- Required Piping Hardware: All necessary piping hardware for system installation is included.
Below, the pressure drop characteristic of UNIMAXX-PLUS-SC-S30-R solar pump, which is the heart of the solar hot water pumping system, is presented:

SunMaxx’s Pump Stations are an all in one solar hot water component featuring a circulator pump, a digital controller and valves engineered to keep your system circulating the solar heat transfer fluid through the collectors and into the storage tank.
SunMaxx will size a pump station specific to your needs. No need to do the math!!!
Our pump station’s fill valve has GHT hose threads on the outside. You can easily make an adaptor using the following three fittings, which can be purchased at your local hardware store or plumbing supply.
- Schrader valve x ¼” male NPT
- Reducing Bushing, ½” NPT Male x ¼” NPT Female
- Hose fitting, ½” NPT male x ¾” swivel GHT female
Use Teflon tape on the NPT threads of the Schrader valve and bushing in constructing the adaptor. When attaching the adaptor to the pump station, be sure to use two tools: one to hold the fill valve in place, and one to tighten the adaptor. That way, you won’t create leaks in the pump station itself while testing.
Take a deep breath and let all your air out… of your Solar thermal system One of the biggest issues with a successful commissioning is air removal. Any time you spend with this detail will be time well spent. Air pockets become entrained within your HTF and like to find places to hide. Air pockets can form between your HTF and the inner wall of piping (especially with flexible piping) and can only be removed through persistence and time. Here are a few things you can do to help this process. First, be sure that your air purger is located on the high and hot side of your collector series. The hotter the fluid the less the ability for dissolved gasses to stay in solution and the higher the air vent, the more likely you will effectively remove trapped air that, due to its buoyancy, will rise to the top. Once you feel most of the air has been removed this way, you can shut that air eliminator off or remove it all together. If you install a Titan Power Plus collector, you will have a manual air bleeder permanently installed in your line set connections. If you install a ThermoPower collector, you will include an air vent that should be isolated and de-commissioned at this point. Now, down to the pump station. The UniMaxx pump stations have an integral air eliminator with a scoop that will allow entrained air to collect and be bled off manually by opening the valve up to a full turn until HTF comes out. This can be done each day for the first few days or periodically checked. Smaller systems will take much less time removing the air. Another way of enabling the removal of air is to run the pump at maximum speed during commissioning, this will help to break the friction that holds the bubbles to the inner wall thus forcing the bubble through and out. After words, you should adjust your pump speed accordingly. If air persists in your system, it will inevitably find its way to the suction side of your pump and cause cavitation and eventual pump failure. If your pump appears to be not pumping, it is likely that although it is receiving 115v, it cannot pump because of air pockets. Simply unplug your pump and manual override and give it a few minutes. Air will work its way out, pump can run and then you need to go back to the air purging steps. Please view our SunMaxx technical manual (linked) for further instruction in effective system commissioning.
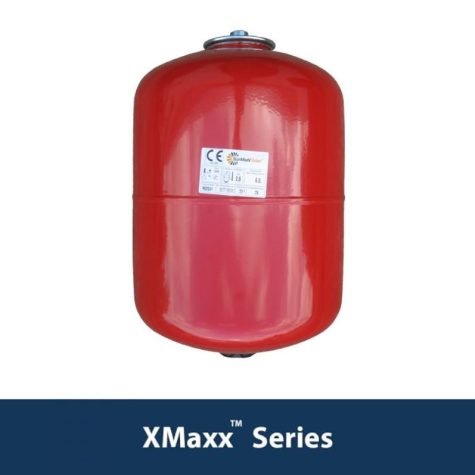
Solar pump station is a small system which includes the main elements like pump, flow meter, tees and more. When you deiced to buy a solar pump station you should check what accessions do you need to connect your solar pump installation to the system. We advice to you one of our calculators (Solar Pump Station Accessories Calculator), which is the best way to do that. There are all important information included. You can choose from pipe material, size of connection or need of additional element like expansion tank or booster pump.
Booster pump is an additional device (same pump mounted in solar pump station) which increase the pressure drop inside the whole system. First pump acts like a booster to feed the extra pump. The flow rate is the same but the head of pump (differential pressure) is increasing (adding the head of two pumps). These type off connection is used to overcome larger system head loses mainly when one pump can’t do that.
Solar Pump Stations
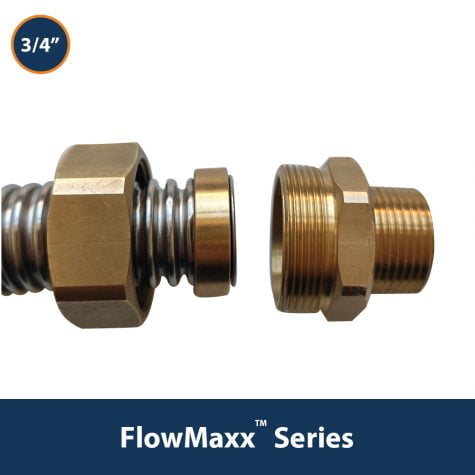
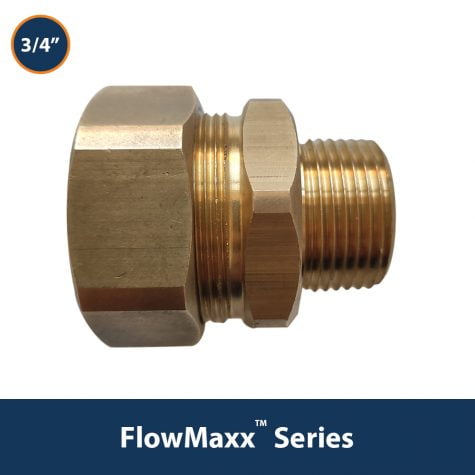
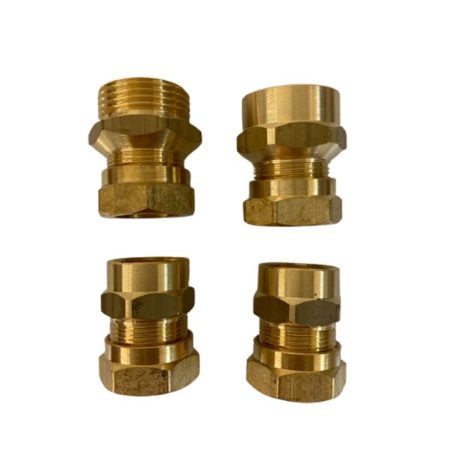
UniMaxx Compression Connectors
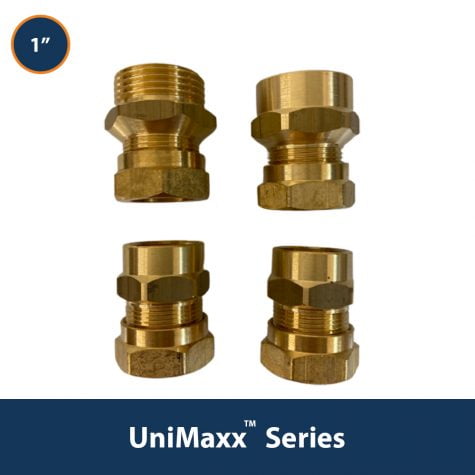

Fittings
Replacement Parts
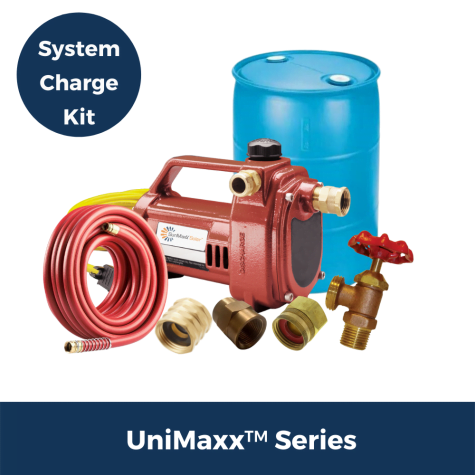
System Charge Kit
How to troubleshoot sensor reading error?
There can be a lot of reasons which lead to problems with sensor reading error. Due to this you can follow the steps below, maybe they can help you to solve the problem: Remember to turn of the appliance form electricity, safety is the most important- Check all wires - connection is required to correct work of sensor. If there is a loose, try to put in harder inside
- If problem vanish, your repair is completed
- If no follow the next step
- Take the multimeter tool and check the current flow of the wire. If you have some values, the sensor is fully functional
- When you still have a problem you can constant to engineering team, maybe they can help you or replace the whole device.
Air pressure testing
Pressure testing kits schemes


Parts in black box should be pre-assembled. Make sure you are using proper threading kit.
Pressure testing steps
- Before testing make sure system has no fluid inside - drain the system
- Connect Air Test Kit like on the schemes above
- Turn Flow Meter valve in horizontal position - allowing the air to go in via upper charging port
- Open upper and bottom charging port valves (black valves)
- Open boiler drain valve (connected to garden hose)
- Turn on the Air Compressor
- Wait a while for air to circulate in the system
- Close bottom drain port and boiler drain valves
- Build the pressure to 87 PSI
- Close upper charging port valve and turn off the Air Compressor
- Verify if no air leaks in the system
- When system does not loose pressure for 10 minutes Air Test is completed.
Charging the Solar Hot Water System
System charging kits schemes


Parts in black box should be pre-assembled. Make sure you are using proper threading kit.
System charging steps
- Makes sure air vents on roof are closed (or glycol will leak out).
- Prepare transfer pump, hoses, and glycol for charging of solar loop.
- You will need mixture of 50% glycol, 50% water. Approximately 0.5 gal per one collector.
- Connect discharge pump to top connection on solar pump station
- Connect return hose to glycol drum (from the bottom connection on solar pump station) .
- Prime transfer pump (make sure you have pressure).
- Open fill/flush port valves on pump station (black valves).
- Make sure flow meter valve is turned perpendicular to the valve body (this is fill mode).
- Turn the solar pump on in manual mode (usulally relay 1); which will turn on the solar pump.Make sure your red / blue temp gauges are not closed (they are open).
- Start transfer pump, build pressure until glycol returns from return hose into glycol drum.
- Make sure suction hose (from transfer pump) is installed below the water line in the glycol drum.
- If you have multiple collector banks; isolate the cold supply on the upper bank (lets the system fill the lower bank first. Let glycol run for 10‐15 minutes; most air should be purged out of the system (you will notice steady stream of glycol from the return line)
- Next, open the upper bank balancing valve and close the bottom bank, let run for 10‐15 minutes
- Open both valves on the collector banks.
- Begin to close the return valve on the fill/flush ports (this will allow for building of circulation loop pressure. Build pressure to 50+ PSI (as long as you have some flow coming out into the glycol drum).
- High pressure pushes the air out of the fluid.
- Bleed the air out of the air bleeding points (air vents in collectors, air vent on pump station, air vent on pump).
- Let system circulate at this pressure for 20‐30 minutes
- Close the fill/flush ports, turn off the transfer pump.
- Turn the flow meter valve to the verticle position; leave the pump in manual mode.
System charging videos
Charging setup
Charging procedure
Pump priming
Return hose
How to Order:
If you are confident with your solar hot water heating requirements you can place your order online by clicking on the add to cart button which is located above. All orders are reviewed by our solar hot water heating department and the customers are contacted in order to ensure that you have ordered the correct merchandise for your application. In the event you have any questions our sales staff are available from 8:30AM to 5:30PM EST.
Silicon Solar Inc ships products internationally please ask your sales representative for a shipping rate to your destination.
Need Assistance?
If you have questions need help or simply feel uncomfortable placing your order online feel free to contact the product representative at 1-800-786-0329.
Additional information
| Weight | 10 lbs |
|---|---|
| Dimensions | 14.5 × 7 in |